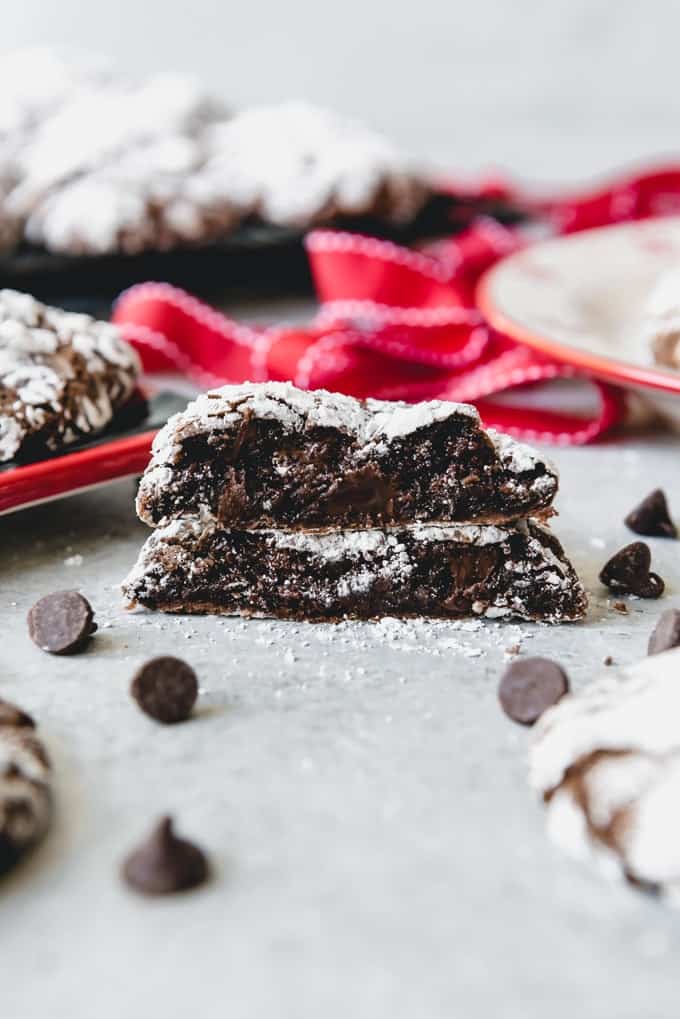
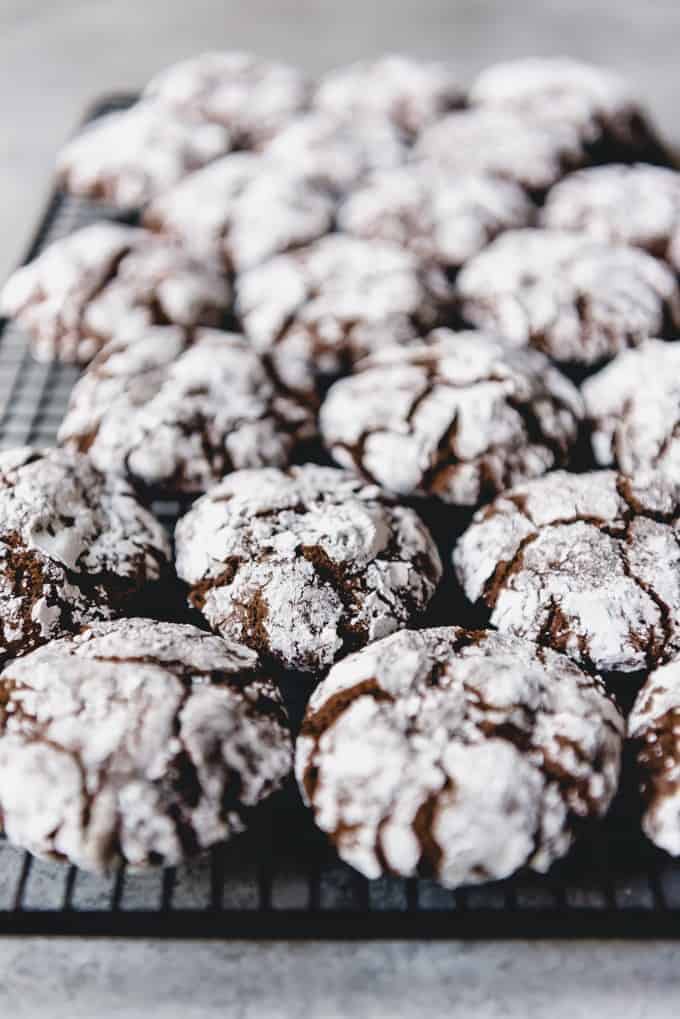
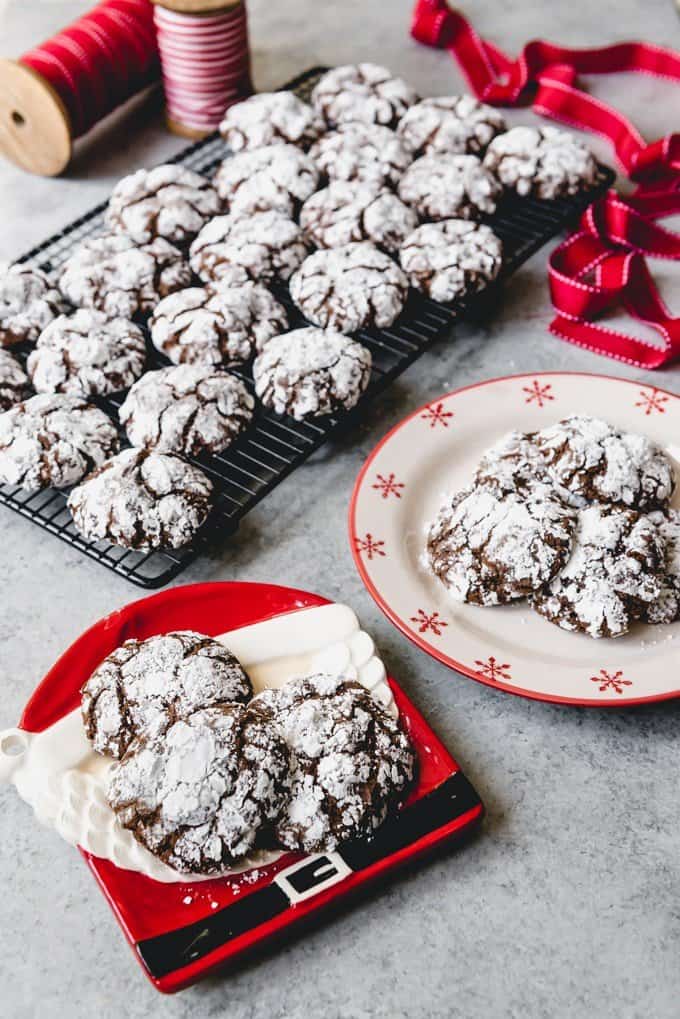
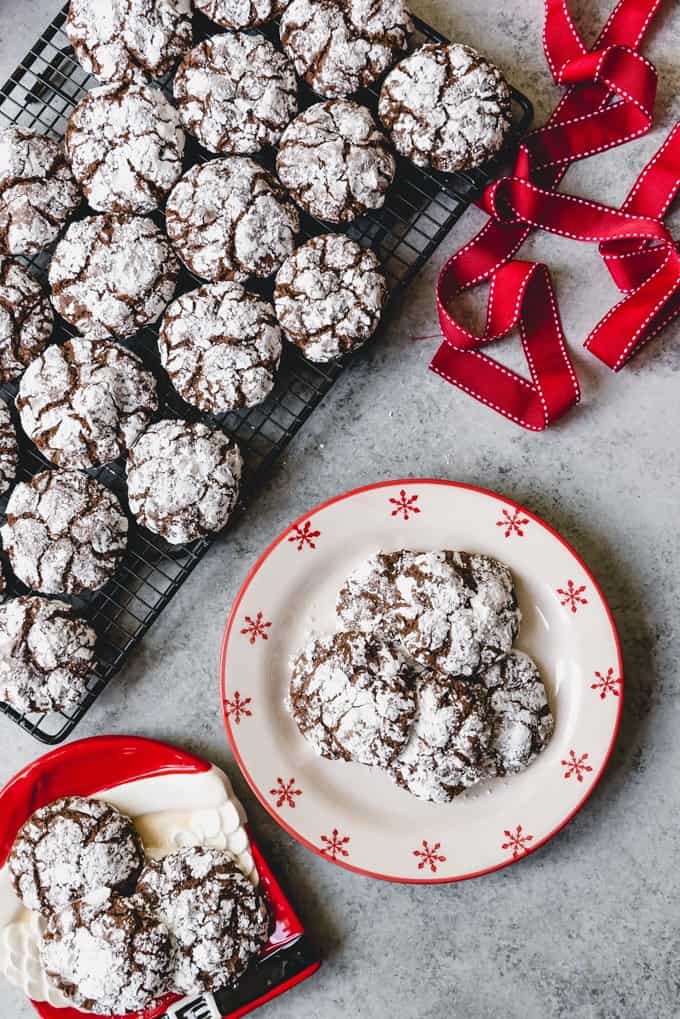
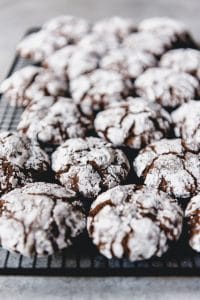
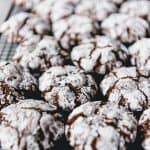
Double Chocolate Crinkle Cookies are a Christmas classic with soft and fudgy centers and a sweet crackled exterior. Make these for your Christmas cookie platters this year!
When it comes to classic Christmas cookies, these double chocolate crinkle cookies are right up there with peanut butter blossoms and toffee pecan shortbread for me.
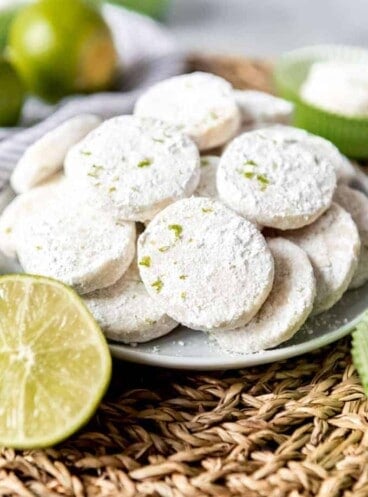
Planning your Christmas cookie plates for this year? Be sure to also check out our Lime Meltaway Shortbread Cookies , Chocolate Thumbprint Turtle Cookies , and Mexican Wedding Cookies [aka Russian Tea Cakes] !

What are Crinkle Cookies?
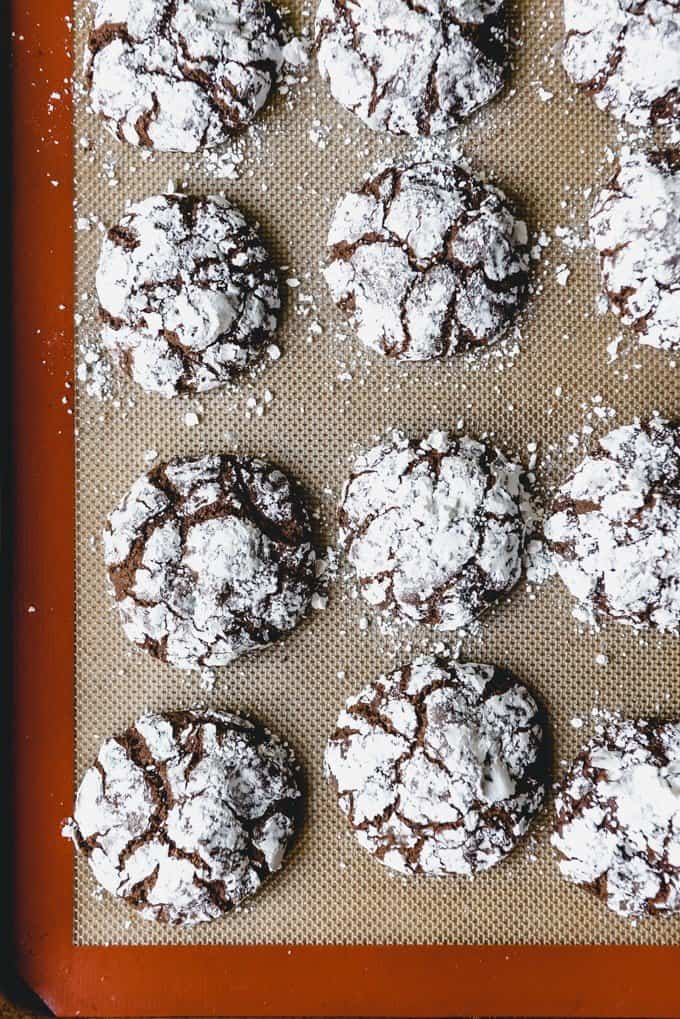
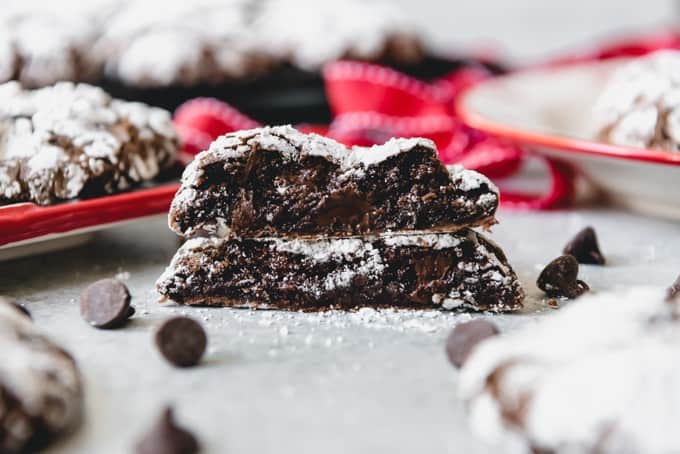
Double chocolate crinkle cookies are super rich, chocolate cookies that are coated with a layer of powdered sugar before baking, which shows off the dark chocolate interior of the cookies through the cracks that form on the top while baking.
Some people make chocolate crinkle cookies from a cake mix, but I think they are so much more delicious to make from scratch and hardly any extra effort.
Why this is the best Chocolate Crinkle Cookies Recipe
A couple things I do a little different from other chocolate crinkle cookie recipes I have seen:
- I use melted butter instead of oil . I like the extra flavor that butter gives and prefer using it in cookies over vegetable oil, but most classic chocolate crinkle cookie recipes call for vegetable oil instead of butter anyway so you know you will be fine with either choice.
- I use part brown sugar instead of all granulated sugar . The granulated sugar helps the cookies crinkle, but brown sugar gives a deeper, more flavorful taste and chewy texture. It’s my secret ingredient for brownies and chocolate cake as well.
- Adding in chocolate chips boosts the chocolate-intensity of already chocolatey cookies, but nobody ever seems to complain.
- I don’t chill the dough because 1. I’m a rebel, and 2. I’m impatient. Yes, the dough is sticky and soft, which is why most recipes call for chilling anywhere from 1 hour to overnight so it is easier to handle and roll into balls, but I find that if I dust my hands with a little powdered sugar between rolling every 3-4 cookies I manage just fine. If you want to chill the dough though, go for it.
Chocolate Crinkle Cookies Recipe Ingredients
- All-purpose flour
- Cocoa powder
- Baking powder
- Salt
- Brown sugar
- Granulated sugar
- Powdered sugar
- Large eggs
- Vanilla extract
- Salted butter
- Semisweet chocolate chips
How to make Chocolate Crinkle Cookies
- Start by whisking the flour, cocoa powder, baking powder and salt together in a bowl.
- In the bowl of a stand mixer, beat the granulated sugar, brown sugar, and eggs using the paddle attachment for a few minutes until the mixture thickens and the color lightens. It’s the same technique that I use when making brownies to get the coveted crinkly crust on top and it makes a difference in these chocolate crinkle cookies too.
- Add the vanilla and melted butter and mix until combined. Then gradually add in the dry ingredients just until the dough comes together, scraping the sides and bottom of the bowl as needed.
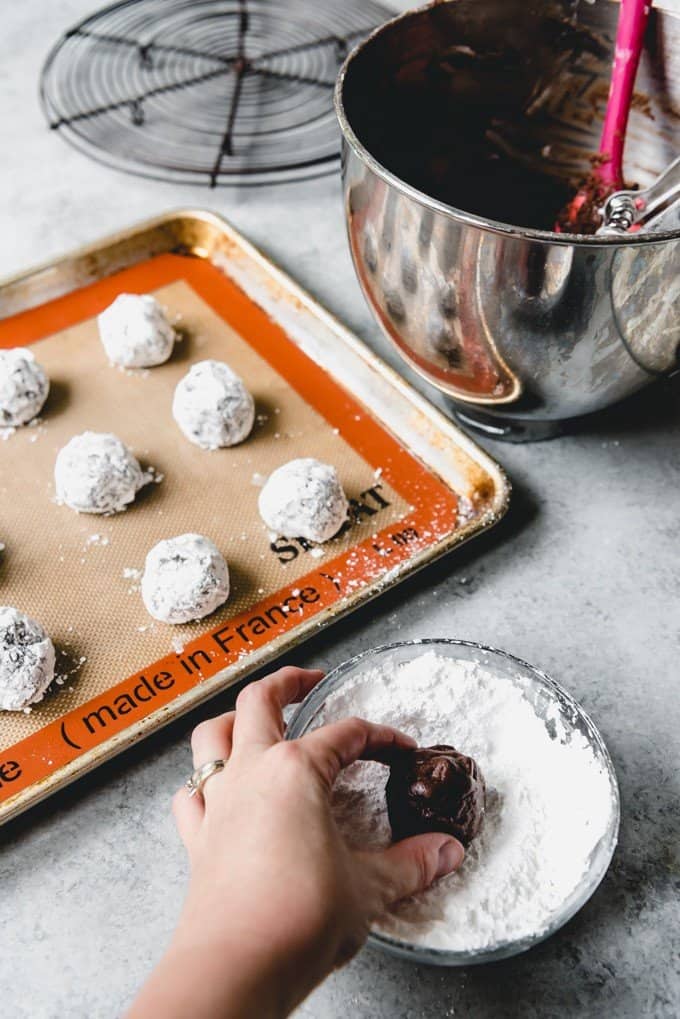
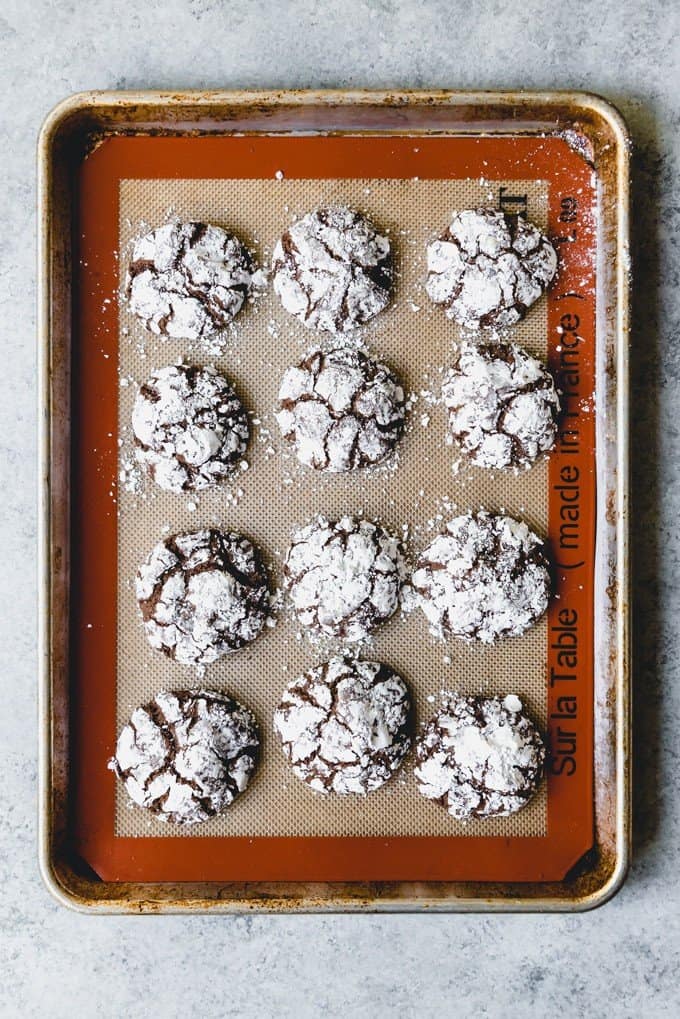
- Stir in the chocolate chips, then set up a baking sheet lined with parchment paper or a silicone baking mat and a bowl with the powdered sugar for coating the balls of cookie dough.
- Dust your hands with a little of the powdered sugar, then scoop heaping tablespoonfuls of dough out and roll them into 1-inch balls between the palms of your hands. Roll each ball of dough in the powdered sugar to generously coat, then place 2 inches apart on the baking sheet. You will need to dust your hands with more powdered sugar every couple of cookies. If it looks like there’s a ridiculous amount of powdered sugar on each ball of cookie dough, that’s what you want because most of it will get absorbed while the cookie bakes.
- Bake in a 350°F oven for 11-12 minutes until large cracks appear on the top of the cookies. It’s fine if the cookies look a bit underbaked between the cracks, because you don’t want to overbake the cookies or they will be hard. Also, cookies continue to cook after you take them out of the oven and will set after a few minutes.
Tips for making Crinkles
- Use high-quality cocoa powder and chocolate: The flavor of your cookies largely depends on the quality of your cocoa powder and chocolate. Opt for good-quality unsweetened cocoa powder and bittersweet or semisweet chocolate for the best results.
- Chill the dough: Chilling the cookie dough for at least 2 hours, or even overnight, is crucial for achieving the right texture. This helps the dough firm up and prevents the cookies from spreading too much during baking.
- Don’t skip the powdered sugar coating: Rolling the cookie dough balls in powdered sugar is what creates the signature crinkled appearance. Make sure each ball is generously coated before placing them on the baking sheet.
- Keep an eye on the cookies: Chocolate crinkle cookies are done when they’ve cracked on top and are just set but still slightly soft in the center. This usually takes about 10-12 minutes. Be careful not to overbake, as they can become too dry.
- Let them cool: Once you’ve taken the cookies out of the oven, allow them to cool on the baking sheet for a few minutes before transferring them to a wire rack to cool completely. This helps them set and develop their fudgy texture.
Chocolate Crinkle Cookie Variations
- Leave out the semisweet chocolate chips and instead press an unwrapped Hershey’s Kiss or Hershey’s Candy Cane Kiss into the top of each cookie as soon as the cookies are removed from the oven.
- Press a caramel candy like Rolos or just unwrapped Kraft caramels into the center of each ball of dough before rolling in powdered sugar and baking for caramel filled chocolate crinkle cookies.
How to store Chocolate Crinkles
These cookies can be stored in an airtight container on the counter at room temperature for around 4 days or in the fridge for up to 1 week. You can also freeze them for 2-3 months and let them thaw at room temperature before enjoying.
Can you freeze Crinkles?
Yes, these cookies freeze well after they have been baked and cooled. Just place them with wax paper between layers in an airtight container and freeze them for up to 3 months. You could also scoop the dough into balls and freeze that way. Just roll the cookies in powdered sugar right before baking and add a few extra minutes baking time if you want to bake them straight from frozen.
Flat chocolate crinkle cookies can result from a few things. You might want to chill the dough before baking, as warm dough spreads. Overmixing the dough can also lead to flat cookies, so mix until just combined.
If your crinkle cookies aren’t crinkling, it could be that a measurement was off or too much flour was added. You should also double check your oven temperature with an inexpensive oven thermometer to make sure it is properly preheated.
If your crinkle cookies are turning out dry instead of moist, the two biggest culprits are usually adding too much flour so that the ratio of ingredients is off, or overbaking them, which will definitely dry them out. When in doubt, I would prefer underbaking to overbaking these cookies.
More like this Chocolate Crinkle Cookie Recipe:
- Best Cut-Out Sugar Cookies
- Toffee Oatmeal Chocolate Chip Cookies
- Lemon Cardamom Crinkle Cookies
- Red Velvet Crinkle Cookies
- Peanut Butter Blossoms
Cookies
Lime Meltaway Shortbread Cookies

Christmas
Soft & Chewy Gingerbread Men Cookies
Cookies
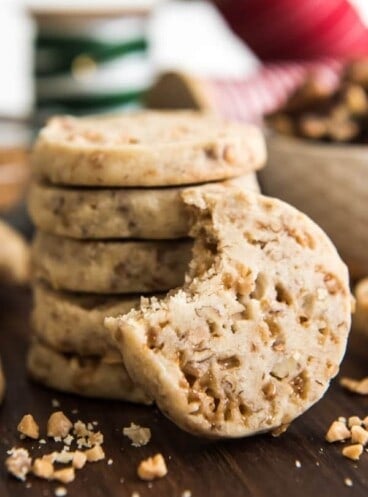
Toffee Pecan Shortbread Cookies
Did you make this recipe?
Let me know what you thought with a comment and rating below. You can also take a picture and tag me on Instagram @houseofnasheats or share it on the Pinterest pin so I can see.
Chocolate Crinkle Cookie Recipe
Ingredients123
- ▢ 2 1/2 cups all-purpose flour (353g)
- ▢ 1 cup unsweetened natural cocoa powder (118g)
- ▢ 2 teaspoons baking powder
- ▢ 1 teaspoon salt
- ▢ 1 cup brown sugar
- ▢ 3/4 cup granulated sugar
- ▢ 4 large eggs room temperature
- ▢ 2 teaspoons vanilla extract
- ▢ 8 Tablespoons salted butter melted and cooled
- ▢ 1 cups semisweet chocolate chips
- ▢ 1 cup powdered sugar for rolling

Instructions
- Preheat oven to 350°F. Line a baking sheet with parchment paper or a silicon baking mat.
- Mix the flour, cocoa powder, baking powder, and salt together in a medium mixing bowl and set aside. 2 ½ cups all-purpose flour, 1 cup unsweetened natural cocoa powder, 2 teaspoons baking powder, 1 teaspoon salt
- In the bowl of a stand mixer fitted with a paddle attachment, beat both sugars and the eggs for 3 minutes on medium speed until thick and light. Reduce the speed to low and add the vanilla and melted butter while mixing. 1 cup brown sugar, ¾ cup granulated sugar, 4 large eggs, 2 teaspoons vanilla extract, 8 Tablespoons salted butter
- Gradually add the flour mixture to the sugar and eggs while mixing on low speed, scraping the bottom and sides of the bowl to make sure everything gets mixed together. Add the chocolate chips. 1 cups semisweet chocolate chips
- Place the powdered sugar in a small bowl and dust your hands with a little of the powdered sugar. Scoop heaping tablespoons of dough and roll them into 1-inch balls, then roll them in the powdered sugar to generously coat each cookie. Place the balls of sugar covered dough on the parchment or silicon mat lined baking sheet about 2-inches apart. 1 cup powdered sugar
- Bake for 11-13 minutes until cracks appear in the top of each cookie but they are still slightly underbaked in the centers. Cool for 2 minutes on the cookie sheet before transferring to a wire rack to cool completely. Store cooled cookies in an airtight container.
Notes
- Storage: Keep the cooled cookies in an airtight container at room temperature for 4-5 days.
- Freezing: You can freeze the finished cookies for 2-3 months. Thaw on the counter for a few hours before serving.
- Freezing Dough: You can also make the dough ahead up to 2-3 months. Roll into balls and roll in powdered sugar, then freeze on a baking sheet lined with parchment paper. Once frozen, transfer balls of dough to a freezer-safe ziploc bag for longer term storage. Bake from frozen, increasing the bake time by 1-2 minutes.
- Chilling Dough: Chilling the dough might make rolling it into balls slightly less likely to stick to your hands, but I always skip this step. I actually don’t think it makes any difference in flavor or texture and is mostly just to make the dough slightly easier to work with since it is so soft and sticky. You could always chill the dough in the freezer for 45 minutes or in the fridge for 2 hours before rolling into balls to make it a little easier to work with, but I find that dusting my hands with a little powdered sugar works just fine and I don’t have to wait a couple extra hours for cookies!
Nutrition
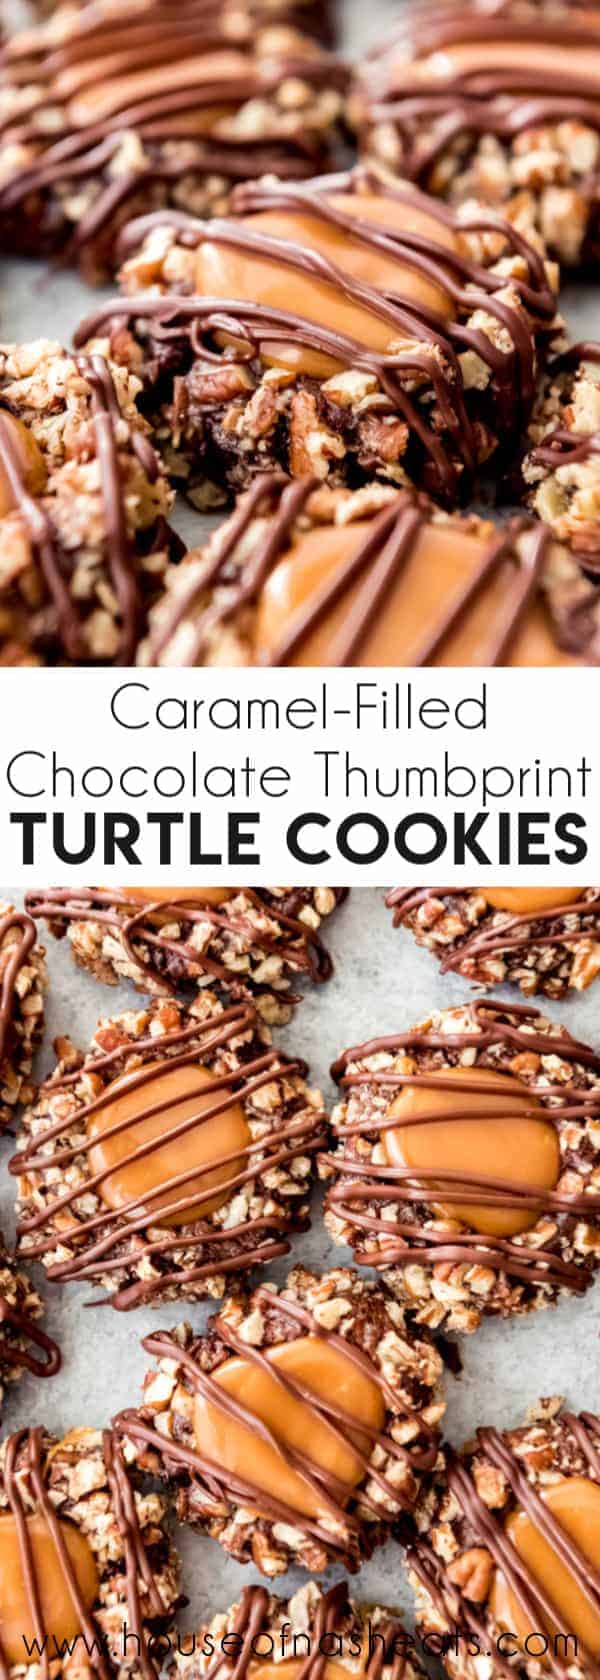
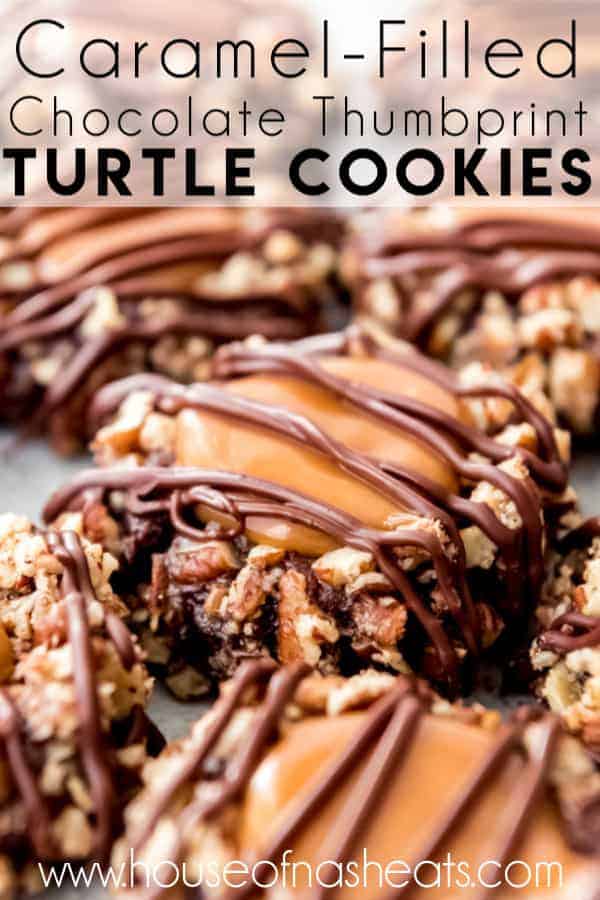
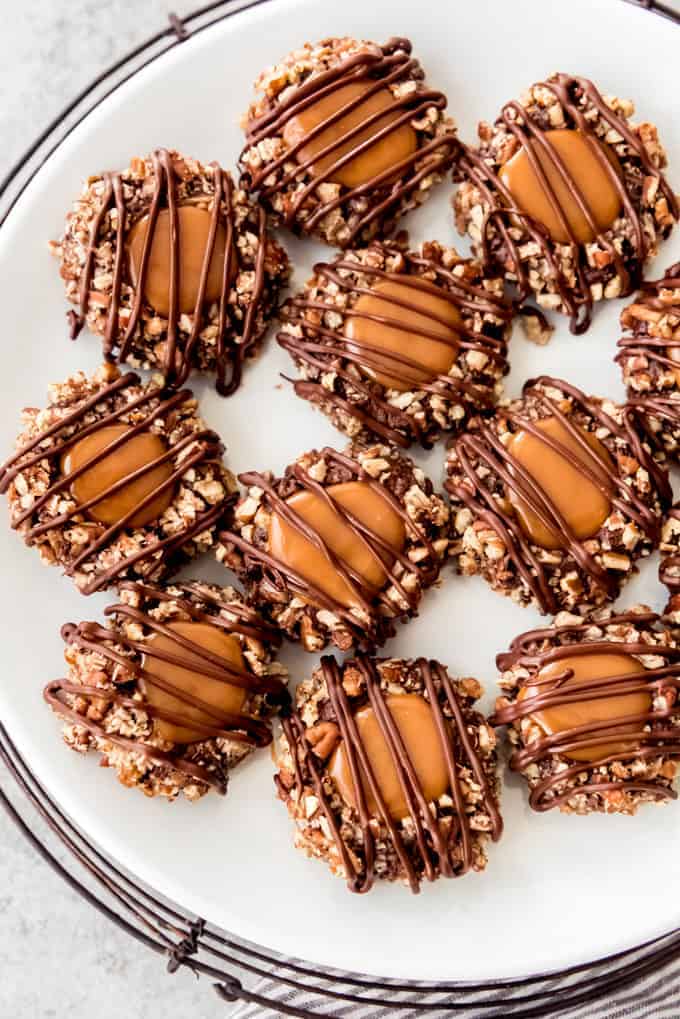
Chocolate Thumbprint Turtle Cookies have a rich cocoa cookie base that is rolled in chopped pecans and filled with soft caramel. Drizzle with a little melted chocolate for a tasty, nutty treat that’s perfect for your next cookie exchange, holiday party or simply just because!

I’m obsessed with turtle desserts. It’s that combination of caramel, chocolate, and nutty sweet pecan crunch that gets me every time.
These decadent cookies never fail to impress and are the chocolate, caramel, pecan counterpart to the classic Jam Thumbprint Cookies . If you have also love desserts loaded with chocolate, caramel, and nuts, be sure to try my Easy Caramel Pecan Brownies , Carmelitas , or Chocolate Salted Caramel Whoopie Pies !
My mom used to make the easiest ever ice cream pie with a graham cracker crust, vanilla ice cream, then drizzles of chocolate magic shell, caramel, and chopped pecans. It’s so easy that it feels like cheating but I keep meaning to post it on here because it’s perfect for dinner parties since you make it in advance and it looks so impressive.
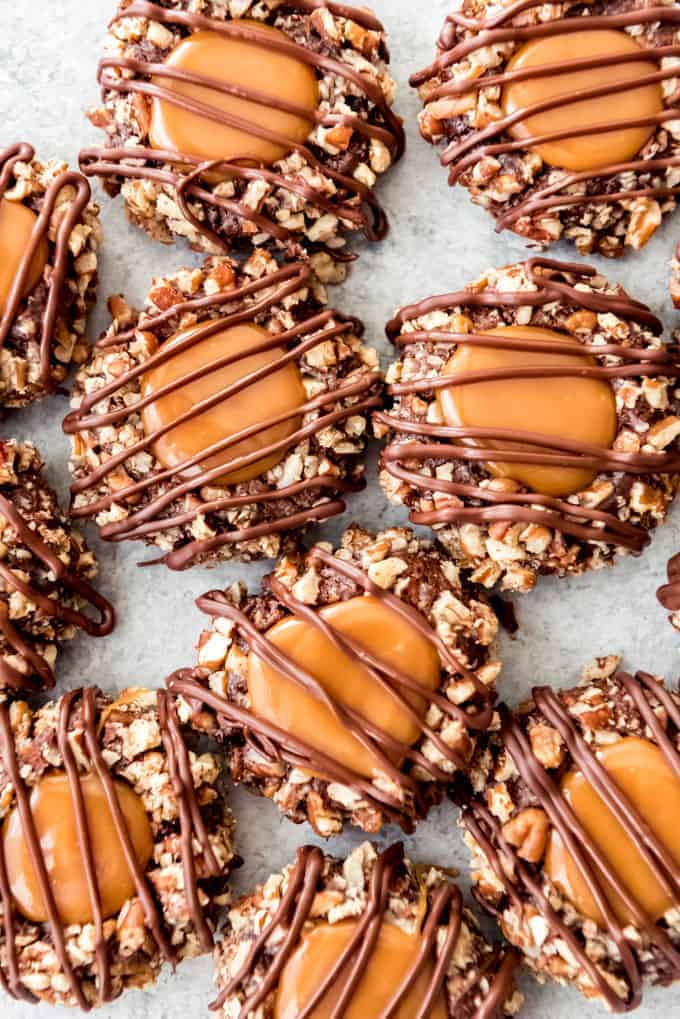
These chocolate thumbprint turtle cookies have the same classic turtle flavor combination of deep, chocolatey chocolate with rich, gooey caramel, and crunchy pecans in a cookie form that is always the store of a cookie plate or cookie exchange.
And they are really fun and easy to make!
What are Chocolate Thumbprint Cookies?
These chewy turtle cookies are a delicious take on a fun and traditional turtle candy . While you don’t have to shape the cookies into tiny turtles, the flavor components are all there. The caramel, nutty crunch and chocolate all help this turtle cookie recipe to shine.
How to make Chocolate Thumbprint Turtle Cookies
- Preheat your oven to 350°F and line a baking sheet with parchment paper.
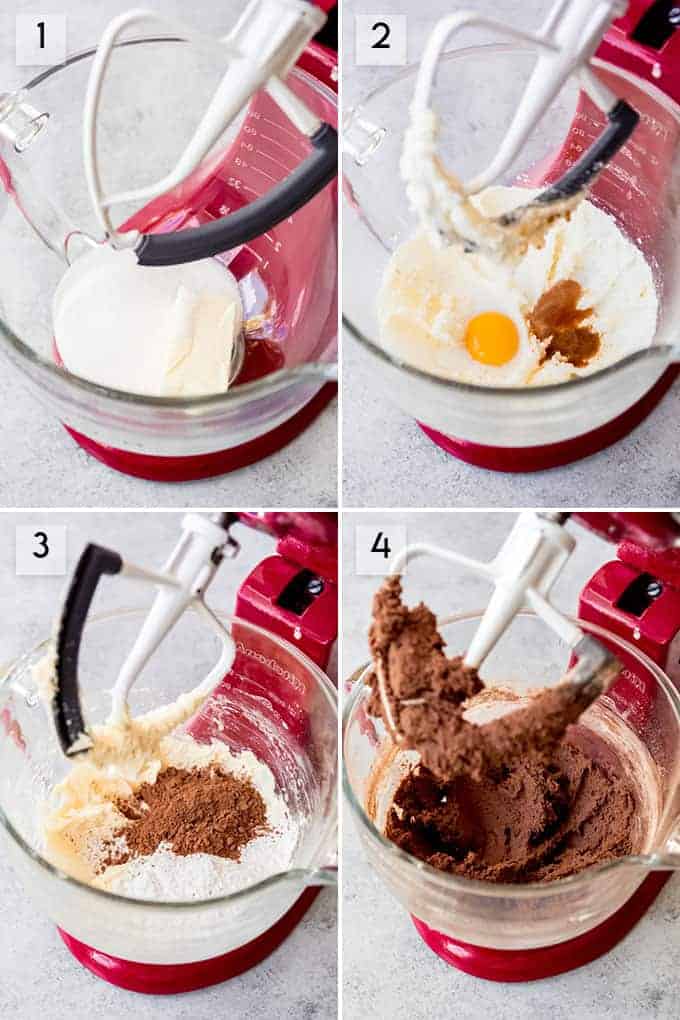
- In a bowl, beat together the butter and sugar until light, about 2-3 minutes.
- Add in the egg yolk, milk, and vanilla.
- Stir in the flour, cocoa powder, and salt until combined. Chill the dough for 1 hour in the fridge.
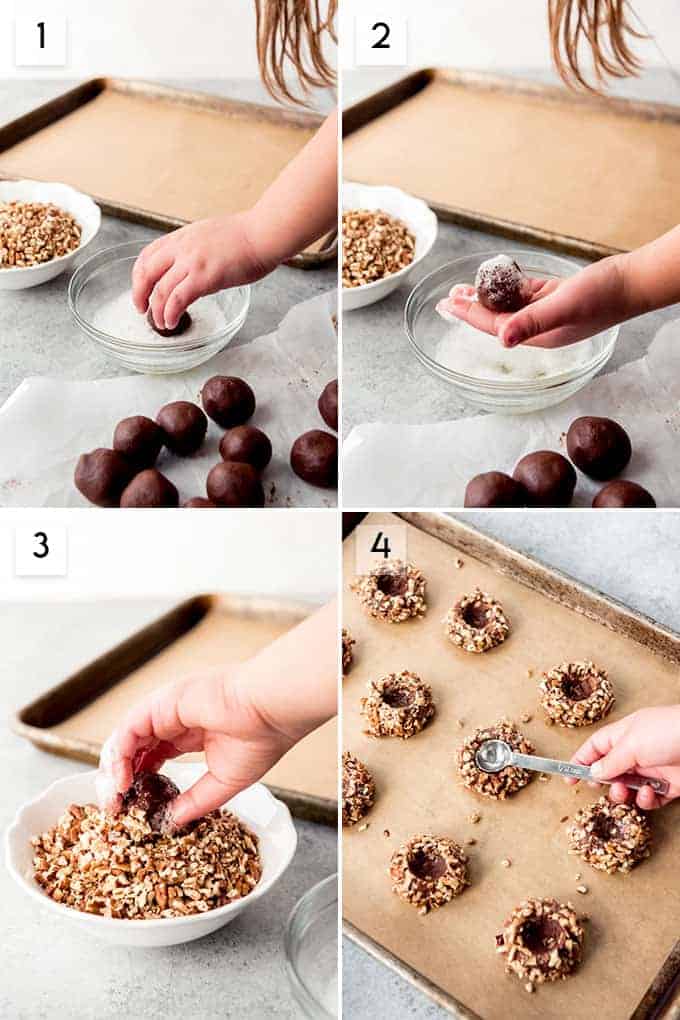
- In a separate bowl, whisk the egg white until it’s frothy. Prepare another shallow bowl with chopped pecans.
- Divide your dough into 20 evenly-sized pieces and roll into balls. Roll each ball in the frothy egg whites, then into the chopped pecans, pressing the nuts to cover the cookie dough really well. Place on the prepared baking sheet and press a finger or the back of a ½ teaspoon measuring spoon into the center of each ball to form an indentation.
- Bake for 10-12 minutes, just until set. Be careful not to overbake.
- While cookies are still hot, using the measuring spoon to press the indentation again so there is a good space for the caramel to go.
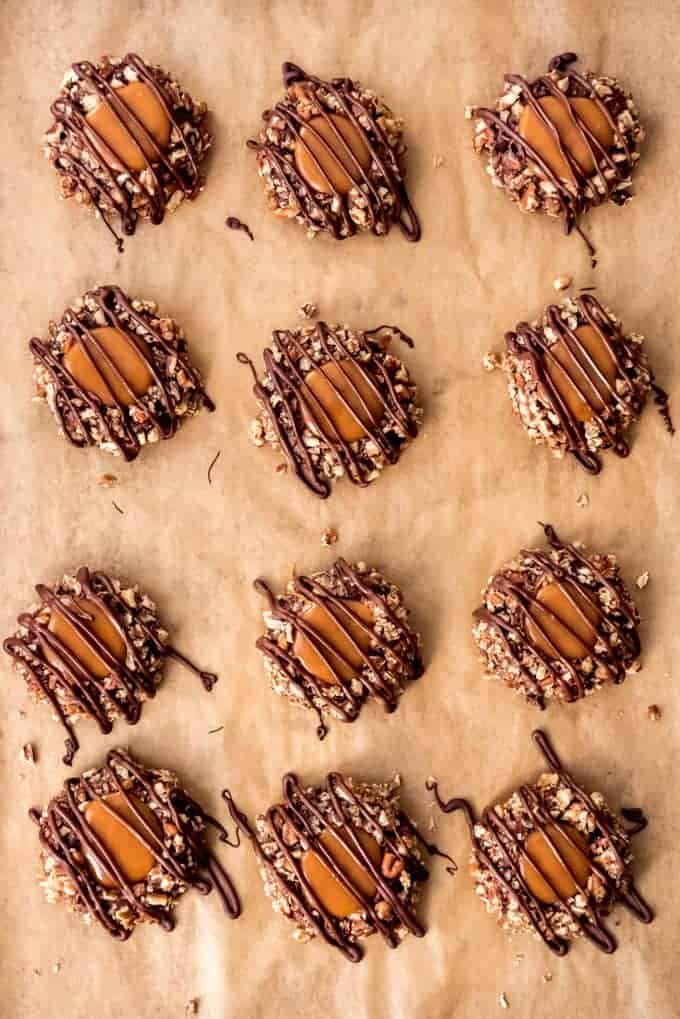
- Combine the caramel and water in a microwave-safe bowl and melt them by heating in 20-30 second intervals and stirring in between about 1-2 minutes total. Pour melted caramel into the depression in each cookie.
- Melt the semisweet chocolate with shortening in another microwave-safe bowl in 20-second intervals, stirring between each burst of heat, just until melted, about 1-2 minutes.
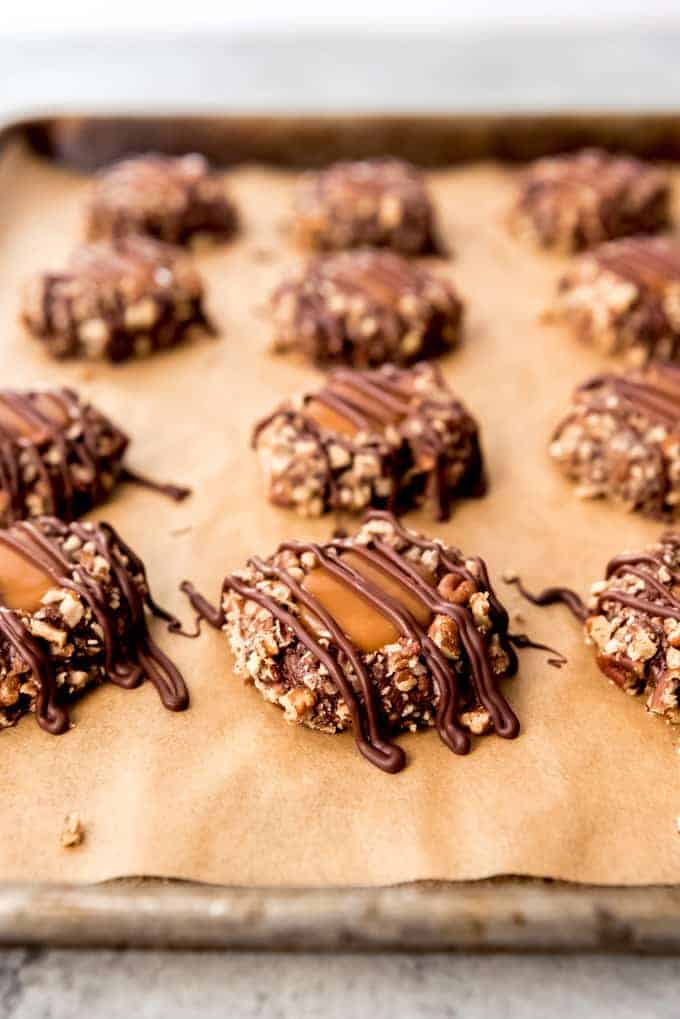
- Transfer the melted chocolate to a ziploc bag and make a small snip off one corner. Drizzle the chocolate over the cookies, then let set before serving.
How Do You Store Chocolate Thumbprint Turtle Cookies?
After the cookies have completely set, you can place them inside an airtight container at room temperature for storage. You can also place them in the fridge if you’d like to enjoy them chilled as well, but be warned that the caramel will firm up significantly.
It’s pretty soft caramel, so I don’t think anyone would break a tooth on it, but it would all come off the cookie with your first bite, giving you a chewy mouthful of caramel and cookie.
If you plan on stacking them to get them to fit inside a container, you may want to use a small sheet of wax paper between the layers to prevent the cookies from sticking to each other.
Can You Freeze Chocolate Thumbprint Turtle Cookies?
Yes, you can these turtle cookies! Freezing them not only helps to keep you from eating an entire batch in one sitting but it can also prolong the shelf-life as keeping them in the freezer will keep them fresh for up to 2 months.
This is also a great tip for when you plan on making these impressive holiday cookies and want to get the cookies done in advance.
More Cookie Recipes You’ll Love
- Toffee Pecan Shortbread Cookies
- Dulce De Leche Stuffed Cookies
- Pecan Chocolate Chip Cookies
- Lemon Sugar Cookies
- Raspberry Chocolate Chunk Cookies
- Snickerdoodle Cookies
- Oatmeal Rolled Sugar Cookies
- Fudgy Chewy Chocolate Brownie Cookies
- Chocolate Andes Mint Cookies
Did you make this recipe?
Let me know what you thought with a comment and rating below. You can also take a picture and tag me on Instagram @houseofnasheats or share it on the Pinterest pin so I can see.

Chocolate Thumbprint Turtle Cookies
Ingredients123
Cookies
- ▢ 1/2 cup salted butter
- ▢ 2/3 cup granulated sugar
- ▢ 1 large egg separated
- ▢ 2 Tablespoons milk
- ▢ 1 teaspoon vanilla extract
- ▢ 1 cup all-purpose flour
- ▢ 1/3 cup unsweetened cocoa powder
- ▢ 1/4 teaspoon salt
- ▢ 1 cup pecans finely chopped
Caramel
- ▢ 3/4 cup Kraft Caramel Bites or 16 unwrapped caramel squares
- ▢ 1/2 teaspoon water
Chocolate Drizzle
- ▢ 1/2 cup semisweet chocolate chopped
- ▢ 1 teaspoon shortening
Instructions
- Preheat oven to 350°F. Line a baking sheet with parchment paper.
- Beat butter and sugar until light, about 2-3 minutes. ½ cup salted butter, 2/3 cup granulated sugar
- Add egg yolk, milk, and vanilla. 1 large egg, 2 Tablespoons milk, 1 teaspoon vanilla extract
- Stir in flour, cocoa powder, and salt until combined. Chill dough for 1 hour in the fridge. 1 cup all-purpose flour, ⅓ cup unsweetened cocoa powder, ¼ teaspoon salt
- Whisk egg white in a bowl until frothy. Prepare another shallow bowl with chopped pecans.
- Divide dough into 20 evenly-sized pieces and roll into balls. Roll each ball in the frothy egg whites, then in the chopped pecans, pressing the nuts in to cover the cookie dough really well. Place on prepared baking sheet and press a finger or the back of a ½ teaspoon measuring spoon into the center of each ball to form an indentation. 1 cup pecans
- Bake for 10-12 minutes, just until set. Be careful not to overbake.
- While cookies are still hot, using the measuring spoon to press the indentation again so there is a good space for the caramel to go.
- Combine the caramel and water in microwave-safe bowl and melt by heating in 20-30 second intervals and stirring in between, about 1-2 minutes total. Pour melted caramel into the depression in each cookie. ¾ cup Kraft Caramel Bites or 16 unwrapped caramel squares, ½ teaspoon water
- Melt semisweet chocolate with shortening in another microwave-safe bowl in 20 second intervals, stirring between each burst of heat, just until melted, about 1-2 minutes. ½ cup semisweet chocolate, 1 teaspoon shortening
- Transfer the melted chocolate to a ziplock bag and make a small snip off one corner. Drizzle the chocolate over the cookies, then let set before serving.
Notes
- Once the chocolate drizzle has set, you can freeze these cookies for up to 2 months in a freezer-safe ziploc bag. Just thaw completely on the counter before serving.
Nutrition
Chocolate Crinkle Cookie Recipe
Ingredients
- 2 1/2 cups all-purpose flour (353g)
- 1 cup unsweetened natural cocoa powder (118g)
- 2 teaspoons baking powder
- 1 teaspoon salt
- 1 cup brown sugar
- 3/4 cup granulated sugar
- 4 large eggs room temperature
- 2 teaspoons vanilla extract
- 8 Tablespoons salted butter melted and cooled
- 1 cups semisweet chocolate chips
- 1 cup powdered sugar for rolling
Instructions
- Preheat oven to 350°F. Line a baking sheet with parchment paper or a silicon baking mat.
- Mix the flour, cocoa powder, baking powder, and salt together in a medium mixing bowl and set aside. 2 1/2 cups all-purpose flour, 1 cup unsweetened natural cocoa powder, 2 teaspoons baking powder, 1 teaspoon salt
- In the bowl of a stand mixer fitted with a paddle attachment, beat both sugars and the eggs for 3 minutes on medium speed until thick and light. Reduce the speed to low and add the vanilla and melted butter while mixing. 1 cup brown sugar, 3/4 cup granulated sugar, 4 large eggs, 2 teaspoons vanilla extract, 8 Tablespoons salted butter
- Gradually add the flour mixture to the sugar and eggs while mixing on low speed, scraping the bottom and sides of the bowl to make sure everything gets mixed together. Add the chocolate chips. 1 cups semisweet chocolate chips
- Place the powdered sugar in a small bowl and dust your hands with a little of the powdered sugar. Scoop heaping tablespoons of dough and roll them into 1-inch balls, then roll them in the powdered sugar to generously coat each cookie. Place the balls of sugar covered dough on the parchment or silicon mat lined baking sheet about 2-inches apart. 1 cup powdered sugar
- Bake for 11-13 minutes until cracks appear in the top of each cookie but they are still slightly underbaked in the centers. Cool for 2 minutes on the cookie sheet before transferring to a wire rack to cool completely. Store cooled cookies in an airtight container.
Notes
- Storage: Keep the cooled cookies in an airtight container at room temperature for 4-5 days.
- Freezing: You can freeze the finished cookies for 2-3 months. Thaw on the counter for a few hours before serving.
- Freezing Dough: You can also make the dough ahead up to 2-3 months. Roll into balls and roll in powdered sugar, then freeze on a baking sheet lined with parchment paper. Once frozen, transfer balls of dough to a freezer-safe ziploc bag for longer term storage. Bake from frozen, increasing the bake time by 1-2 minutes.
- Chilling Dough: Chilling the dough might make rolling it into balls slightly less likely to stick to your hands, but I always skip this step. I actually don’t think it makes any difference in flavor or texture and is mostly just to make the dough slightly easier to work with since it is so soft and sticky. You could always chill the dough in the freezer for 45 minutes or in the fridge for 2 hours before rolling into balls to make it a little easier to work with, but I find that dusting my hands with a little powdered sugar works just fine and I don’t have to wait a couple extra hours for cookies!
Nutrition
QR code
Scan this QR code with your phone’s camera to view this recipe on your mobile device.
